Tips for successful sowing of hemp plants
Share
Sowing hemp plants marks the crucial starting point for successful cultivation. The right growing soil, caring for the seedlings and observing specific germination methods are essential for a robust start.
In this comprehensive guide, we will take a detailed look at sowing hemp plants and will examine key terms such as growing soil, seedlings, and dark germination.
Disclaimer
This article is for informational purposes only and does not constitute legal advice. If handling or growing cannabis is currently illegal in your home country, this article should not be misunderstood as an encouragement to grow cannabis. It is your responsibility to inform yourself about the current legal situation in your country and to ensure that you act in accordance with the applicable laws. Any liability for any legal consequences or other damage that may result from the application of the information contained in this article is excluded from the outset. We assume no responsibility for actions taken on the basis of this information. If you are unsure about the legality of activities related to cannabis, it is recommended that you contact qualified legal advisors and observe the current laws in your respective country.
Sowing hemp plants
Sowing is usually a big issue because it sets the milestone for successful cultivation. First of all, it is very important to mention that there can be no guarantee of a 100% germination rate. Unfortunately, we cannot detect bad genetics from the seeds. Private users can usually only influence the germination capacity by storing them.
We now share our cultivation method, which ensures high germination rates.
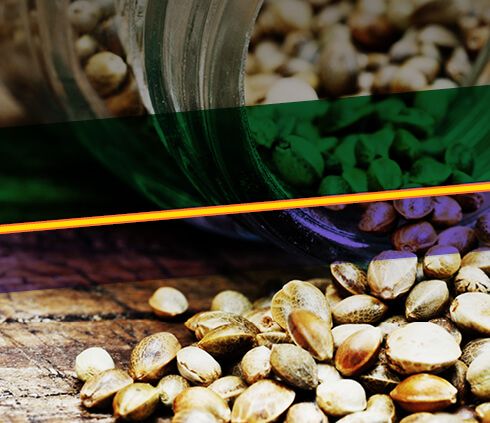
Where do I get my seeds?
The first step is to order the varieties from suitable suppliers. It is advisable to use well-known suppliers who specialize in certain types of plants. We have a large selection of varieties from suitable suppliers to choose from.
How do I store my seeds?
In the second step, the seeds are best stored in the refrigerator, in a dry and dark place. Cans or jars can be used for this. If there is no space in the refrigerator, a cool, dry and dark room is suitable for storage.
How long will my seeds be viable?
The seeds can remain viable for up to 2 years if stored correctly.
What materials do I need?
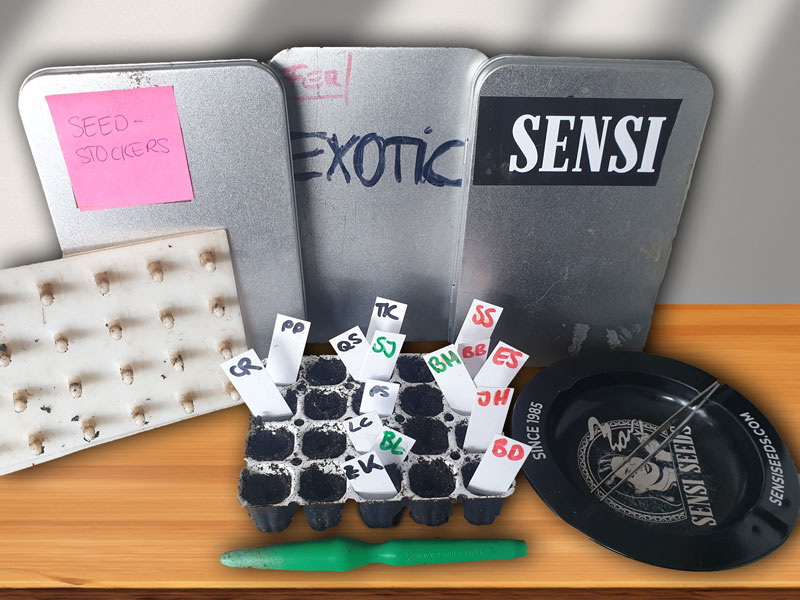
Here you can find a list of materials we use:
- shelf
- to the article
- to the article
- Spongepots - Spongepot - germination cup for 20 seeds ; BD seedling set Spongepot
- to the article
- Peel
- Gloves (thin)
- to the articles
- optional, if fingers are too thick to grip seeds: tweezers (preferably made of plastic or wood)
- optional wedge
- optional to the article
So how do I start sowing hemp plants?
The biology of a plant is an important component here and should not be forgotten. The origin of the plant species can provide information on how we should plant seeds. It is also important to understand the anatomy of plant seeds. Plant seeds have a "root side" and a "leaf side". The "leaf side" always strives to grow towards the light, while the "root side" wants to grow downwards into the substrate. Another crucial feature is whether the plant species is "dark-germinating" or "light-germinating". "Dark-germinating" plants should always be covered, while "light-germinating" plants can germinate on the surface of the substrate.
In the case of hemp, it is a plant that is believed to have originated in Central Asia. This means that hemp is a heat-loving plant. For sowing hemp, temperatures between 23 and 26 degrees are optimal. The more constant the temperature remains during germination, the higher the germination rate.
Hemp is dark-resistant, which is why we make sure that the seeds are placed in the substrate when using the following sowing method.
Structure of seeds: Example using a bean seed

Source: https://d1u2r2pnzqmal.cloudfront.net/content_images/images/
7298/original/seeds-of-the-runner-bean.svg?1613988879
How does sowing work at Bushdoctor?
The substrate (cutting soil) is moistened evenly. The more homogeneous and even the moistening, the better the results will be.
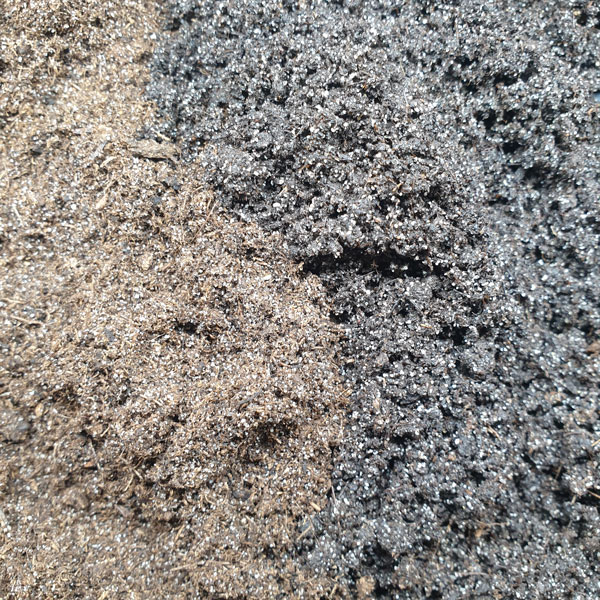
In contrast to spraying from above or watering from below, this method takes longer because the soil must first be "kneaded" until moist and then pressed into the sponge cups, but the germination result is significantly better.
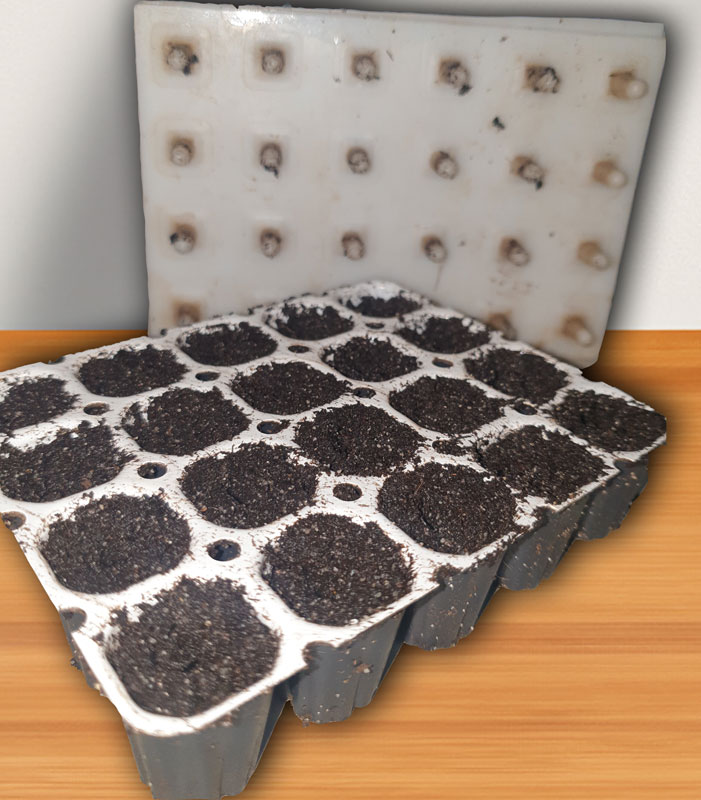
The seed holes are then prepared. Either you use marked sticks or, like us, 3D printed shapes that fit exactly into the sponge cups. The sowing depth should be 1.5 - 2cm. Then the seeds are placed in the holes with thin gloves (or optionally with plastic/wooden tweezers). The gloves are important because the layer of fat on the fingers can impair the germination of the seeds. During the planting, care must also be taken not to touch the skin or other things.
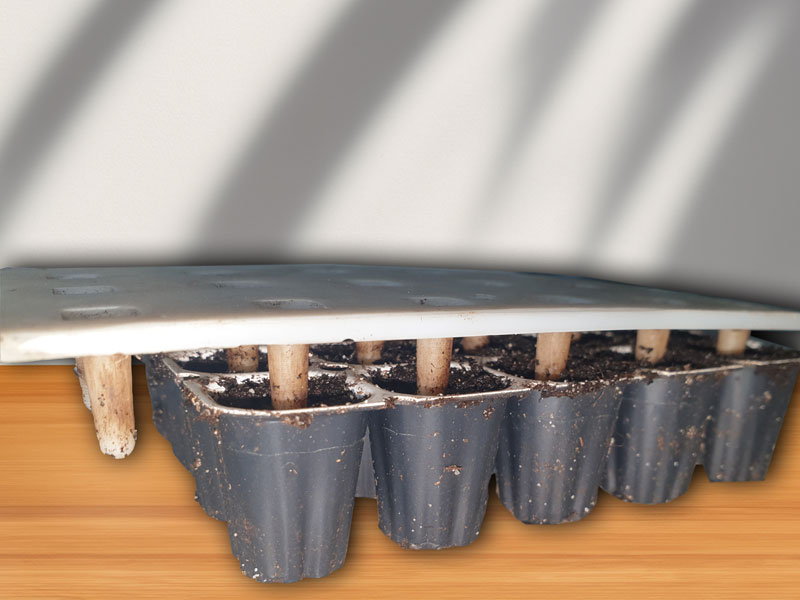
When the seeds are in the holes, we close the seeds by pressing the upper part with a dibber.
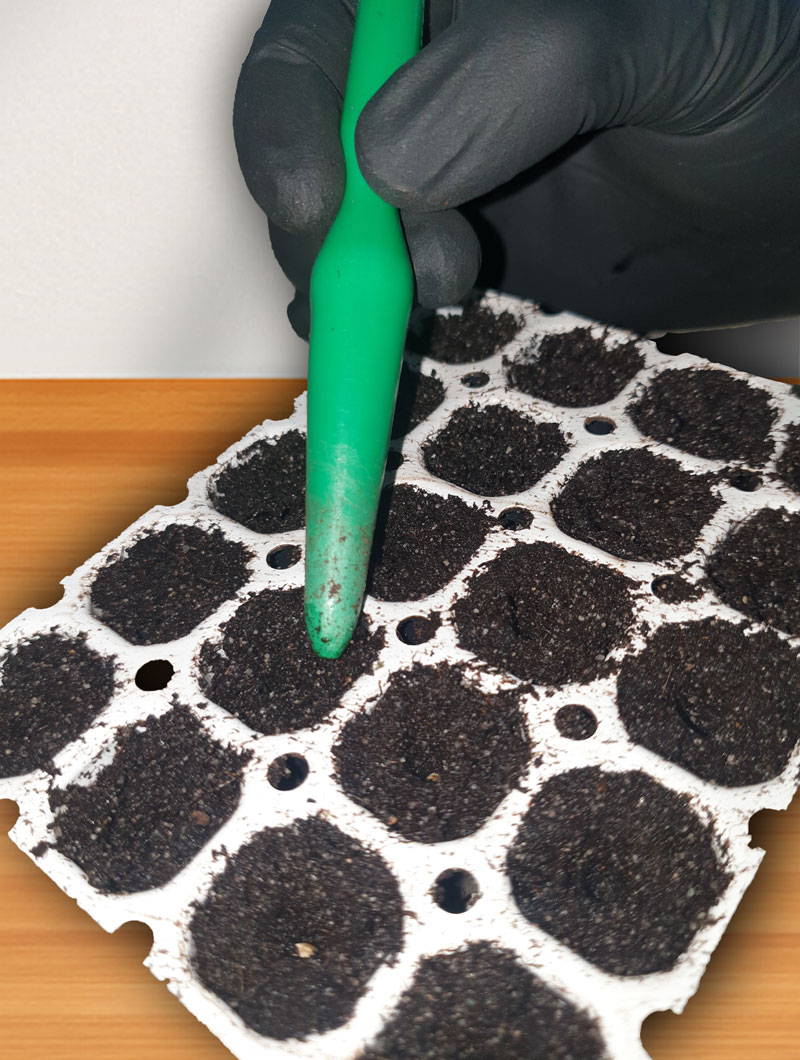
If several sponge cups are sown, make sure to label them. The cups are then placed in the greenhouse floor and the lid is closed.
The germination temperature should be at least 20 degrees, but 22-26 degrees would be ideal. The humidity should be 60-65%. The humidity can be regulated easily by keeping the lid closed or open. Temperature and humidity meters can also be used optionally. The seeds then usually need 3-4 days to be ready to prick out. Our lamps are close to the lid to avoid stretching the seedlings. The lamps we use are TLED lamps, which hardly emit any heat, so it is possible to keep them close enough.
Other questions
What happens if the temperature is too cold?
Germination can be delayed and take longer. What helps? The lid should remain closed so that the "greenhouse effect" (higher humidity, higher temperature) is stronger. Heating mats can be a solution. Care must be taken here that the heating mats do not dry out the seedlings.
What happens if it's too hot?
The risk of drying out is greater, which is why you may need to add more water. The substrate will then become darker. The lid should be kept open with a wedge/placeholder so that the "greenhouse effect" is not too strong and the humidity does not become too high. This would also pose the risk of mold.
What if the stems are too long?
The sponge cups should then be placed closer to the light.
Why are the stems red?
This is normal and the red stems should disappear after pricking out at the latest.
